Understanding the Parts of a Drum Kit
| Drum Part |
Function |
Recommended Placement |
| Bass Drum |
Main beat foundation |
Center, on the floor |
| Snare Drum |
Sharp and crisp sound |
Front of player, slightly left |
| Hi-Hat |
Rhythm control |
Left side near snare |
| Tom-Toms |
Fills and rolls |
Above bass drum |
| Cymbals |
Accents and effects |
Right and left sides |
Assembling the Drum Kit Hardware
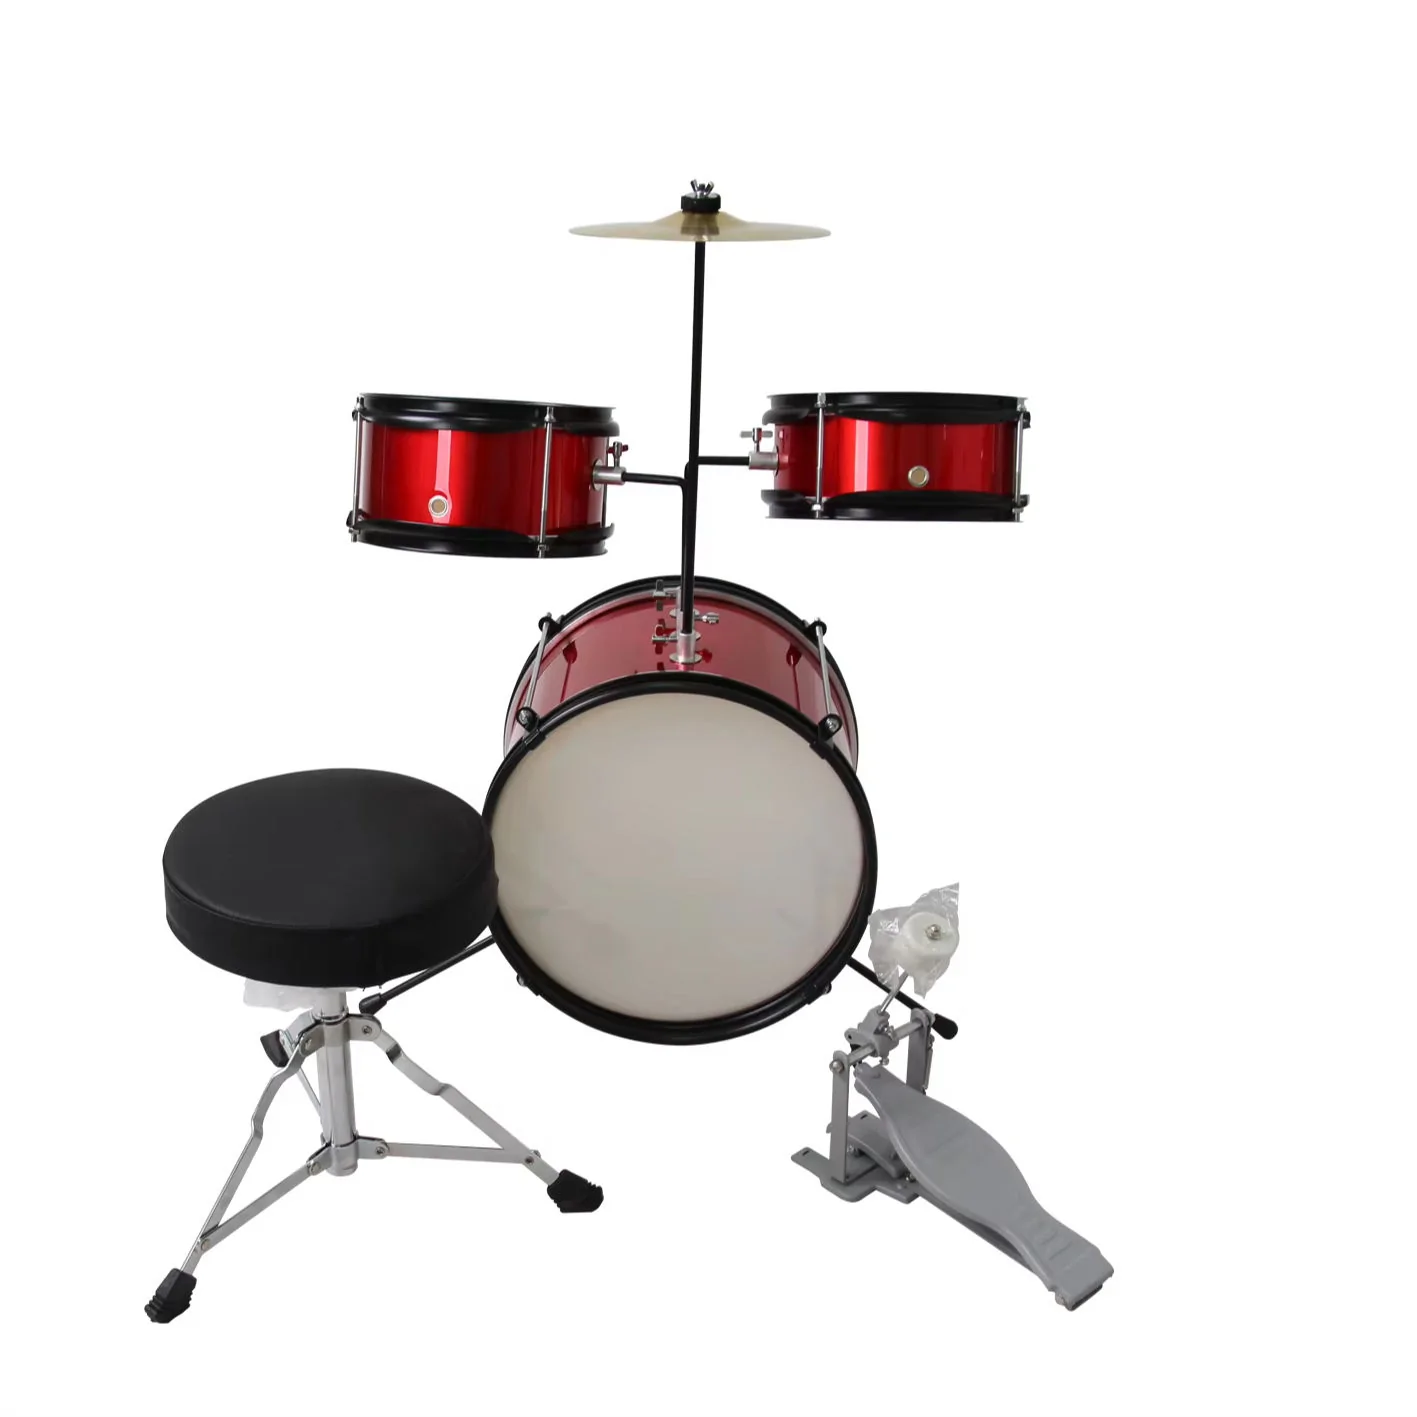
Start by setting up the stands and pedals. Place the bass drum in the center, then attach the pedal securely to its rim. Make sure the pedal is tight and moves smoothly. Next, position the snare stand at a comfortable height, just below your elbows when you sit. Attach tom mounts to the bass drum and adjust them to face you slightly. The hi-hat stand should be on your left side with the pedal close enough for easy use.
| Hardware |
Setup Step |
Tip for Adjustment |
| Bass Drum Pedal |
Attach to rim |
Ensure smooth movement |
| Snare Stand |
Place near legs |
Keep stable but flexible |
| Hi-Hat Stand |
Set to left |
Align with pedal spacing |
| Cymbal Stands |
Add last |
Avoid overlapping angles |
Positioning the Cymbals and Toms
Your cymbals and toms should be placed where you can reach them easily without stretching. The hi-hat must sit close to your snare drum so you can move between them quickly. The ride cymbal should be on the right side, slightly above the toms. The crash cymbal can be above and between your toms for quick access. Adjust each stand so the cymbal can swing freely without touching other parts. Keep your movements relaxed and natural to avoid strain while playing.
Setting Up the Drum Throne and Seat Height
Your drum throne is crucial for comfort and stability. Sit so your legs form a 90-degree angle, keeping your feet flat on the pedals. The seat height should allow you to reach every part of the drum kit easily. Your back should stay straight and relaxed. A good posture reduces fatigue and improves playing control. Make sure the seat is stable and does not move during performance.
| Adjustment |
Ideal Position |
Benefit |
| Seat Height |
Legs at 90\u00B0 |
Better balance |
| Back Posture |
Straight and relaxed |
Prevents pain |
| Pedal Reach |
Easy and natural |
Smooth play |
Fine-Tuning and Sound Adjustment
After assembling your drum kit, you need to fine-tune it. Start with the snare drum by tightening or loosening the tension rods. Adjust the toms so each produces a clear tone without buzzing. The bass drum should have a deep and full sound. Use a drum key to tune evenly around each drumhead. Proper tuning gives your drum kit a balanced tone and professional feel.
Organizing for Playing Comfort
Your setup should match your playing style. If you play rock or pop, you might prefer your drums closer together for fast movements. Jazz players often spread out their cymbals for smooth swings. Keep your sticks and accessories within reach to save time. A clean and well-arranged drum kit helps you focus on your music instead of constant adjustments.
Maintenance and Care Tips
Taking care of your drum kit keeps it looking new and sounding great. Wipe dust and fingerprints from the shells and cymbals after each session. Check your screws and stands regularly to make sure they are tight. Store your drums in a dry place to prevent damage. Replace worn drumheads when they lose tension or tone. With proper maintenance, your drum kit will last for many years and deliver consistent sound.
Practicing with Your Drum Kit
Once your drum kit is set, start practicing simple rhythms. Focus on coordination between your hands and feet. Play slowly to build control, then increase your speed gradually. Try different music styles to explore your drum kit\u2019s full potential. Regular practice improves timing, accuracy, and confidence.
Final Tips for a Perfect Setup
Keep your drum kit in the same position once you find your ideal setup. This helps build muscle memory and comfort. Avoid placing your cymbals or toms too high, as it can cause fatigue. Adjust lighting and seating to create a pleasant playing space. A well-set drum kit enhances performance and makes every session enjoyable.
Conclusion
Setting up a drum kit requires patience, precision, and care. Each piece must be adjusted to fit your body and playing habits. A comfortable setup improves your technique and sound quality. With the right arrangement, maintenance, and practice, your drum kit will support you in every performance and recording session. Take time to adjust, experiment, and enjoy the music you create with your perfect setup.